FREE Rufous bettong tutorial
For this tutorial, I aim to take people through how to render a rufous bettong. I say ‘render’, as the drawing component is not a part of this tutorial in order to save on time. If you wish discussion on how to copy a reference freehand, then I encourage you to see my green mamba tutorial if you haven’t already.
What’s a rufous bettong?
A rufous bettong is a rabbit-sized marsupial in the potoroo and kangaroo family. It has also been known as the rat-kangaroo despite no relation to rodents and rats. Their young develop in pouches just like other marsupials like kangaroos. They are found in coastal, and subcoastal habitat regions of north and eastern Queensland and New South Wales, Australia.

Reference image for tutorial use by Andrew Borg. Rufous bettong featured is “Daisy,” as she was in care.
The tutorial:
When? 8.30pm AEST Friday, September 17, 2021.
Where? My Facebook page as a live stream (see social links below). It will later be made available to Youtube and uploaded here as well, but note and comments made by viewers on the live stream will not translate over.
Your preparation:
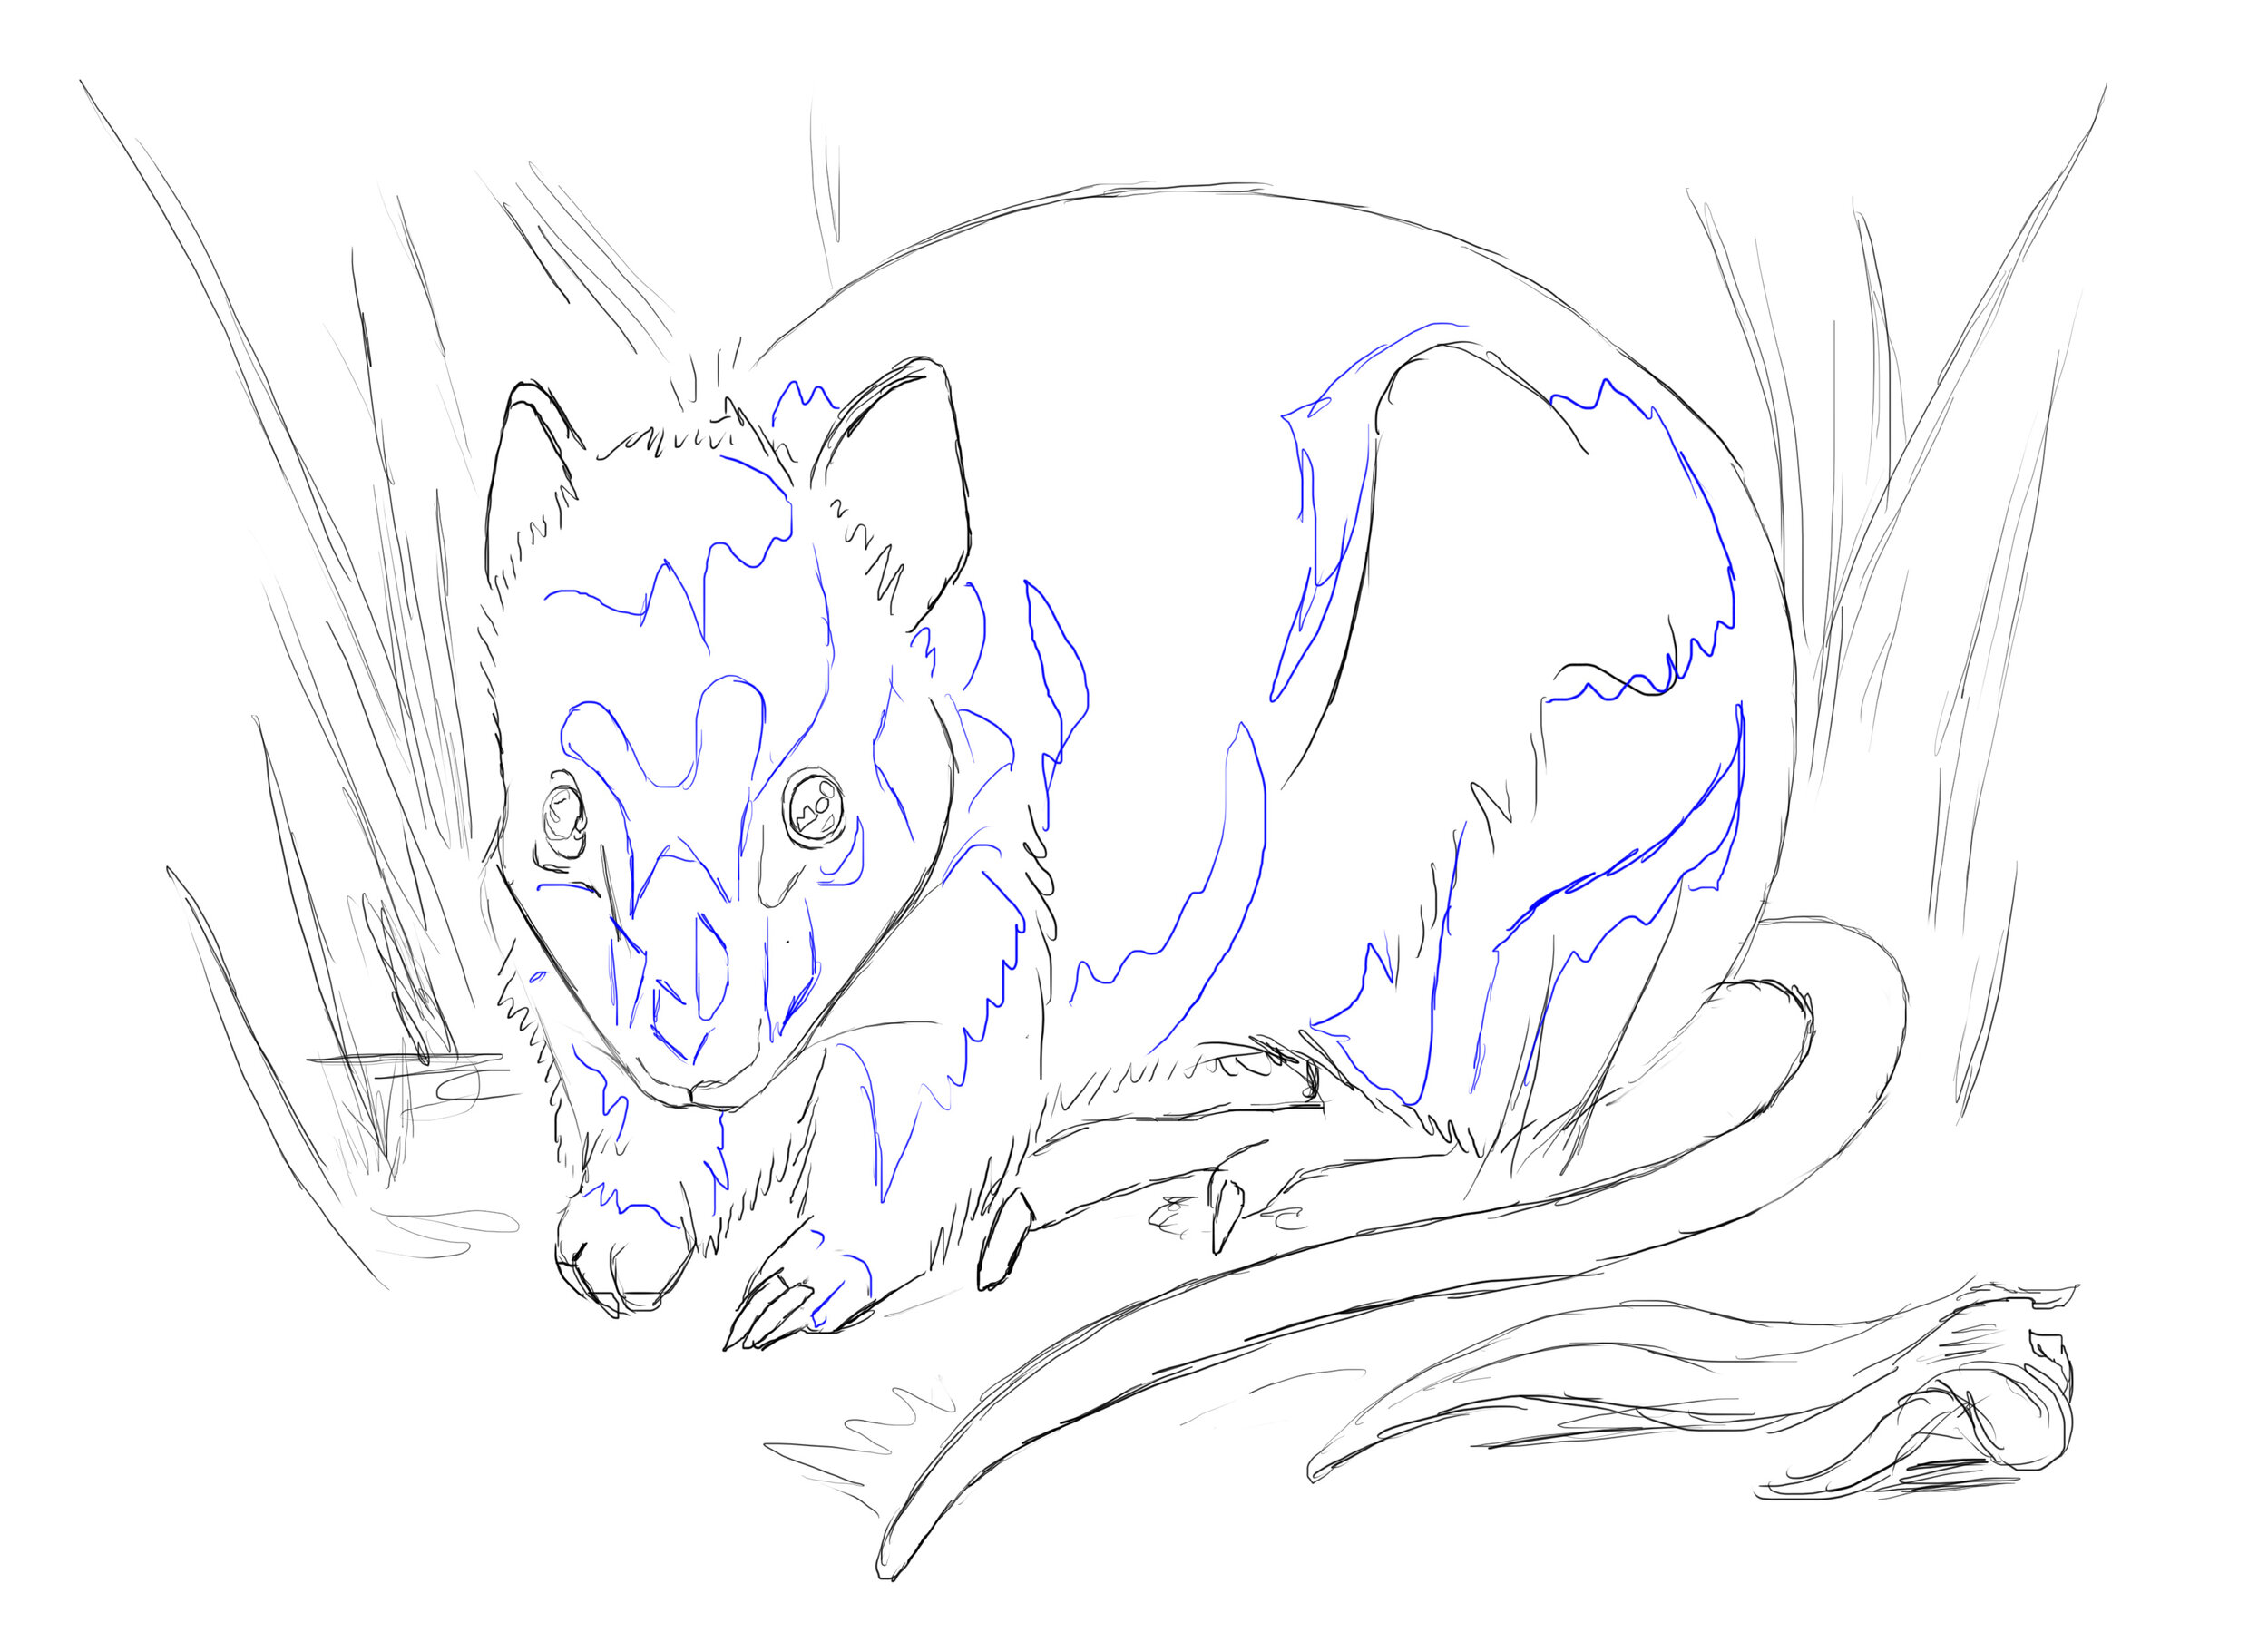
Have your outline ready.
Below are three images for you to use. You may choose to copy the above reference image freehand or however you see fit. However, if you are having trouble or simply lacking in time, then you can either trace the outline I have done for you, or print off the version with fainter lines. If you print it off, note that the lines may not erase, but it will allow you to follow the tutorial as I explain the rendering techniques.
Materials.
I will be using Art Spectrum cotton rag, however almost any drawing paper will work fine. My techniques discussed will not work for surfaces designed for ink, or plastic based surfaces such as drafting film. These techniques also will not work for Pastelmat. Printing paper will be fine but results may vary.
Sharpener - I use a manual crank Derwent Superpoint sharpener. However any sharpener should do, make sure your pencils are ready to go before we start.
Eraser - I recommend a kneadable eraser. Erasers that use a rubbing motion can damage your drawing. I use a Faber Castell kneadable eraser.
Debossing - I will be using and explaining the debossing technique in this tutorial. See the video below for details on this.
Pencils: Please note that you do not have to have all of these pencils. Your results will obviously differ if you do not, but you can still produce an artwork to be proud of using different brands, even children’s pencils. Essentially you need a black, white, brown, greys, yellow, pink, and (optional) orange and blues for highlights. To keep things affordable, I have chosen mostly Faber Castell polychromos with one Prismacolor Premier. My optimal choice however would have been to include a range of Caran D;’Ache Luminance.
Pencil list:
Prismacolor Premier:
Black PC 935
Faber Castell Polychromos:
Black 199
White 101
Skyblue 146
Cold Grey VI 235
Cold Grey IV 233
Warm Grey III 272
Warm Grey II 271
Ivory 103
Cream 102
Orange glaze 113
Caput Mortuum Violet 263
Burnt Umber 280
Brown Ochre 182
Cinnamon 189
*Light Flesh 132 (this may have another name depending on the edition you have, the numbers will be the same though).


Donate
Like Helen’s work? Help her out by either visiting her store to make a purchase, or donate below. Anything offered is greatly appreciated and will assist her to continue producing free tutorials and support for other artists both professional and hobbiest.